
Let's put 2 of my favorite things together. Crochet and Bags. Actually, let's add fundraising in there too (but you don't have to work the pattern; you can still go through the tutorial in one color). I have a pattern made for a Congenital Heart Defect fundraiser that I'm dying to try out. If you'd like to work the CHD pattern on your tote bag, email me at kendrascrochet@gmail.com if you'd like the pdf for an easier read. Before we start:
- First, use a durable yarn. I stay away from animal fibers like wool when making bags because I've had a problem with yarn breakage. Of course you can join the broken yarn and keep going, but I prefer to use a single long strand of yarn for as long as I can before attaching another one. It looks better without a join and I think it stays stronger. Every join is an opportunity for a weakness in the structure. For this project I'm using Bernat Super Value.
- Use tight, close stitches, and/or a lining. This will keep the bag from stretching and give it a sturdy structure that will hold up to use. For this bag we'll be using single crochet throughout, but that isn't necessary for every bag, especially if you line it. Feel free to mix up your stitches to give a different texture.
- Go through both loops of each stitch. This will reinforce the stitches and keep it from stretching also.

The pattern:
 |
| where you go around the other side |
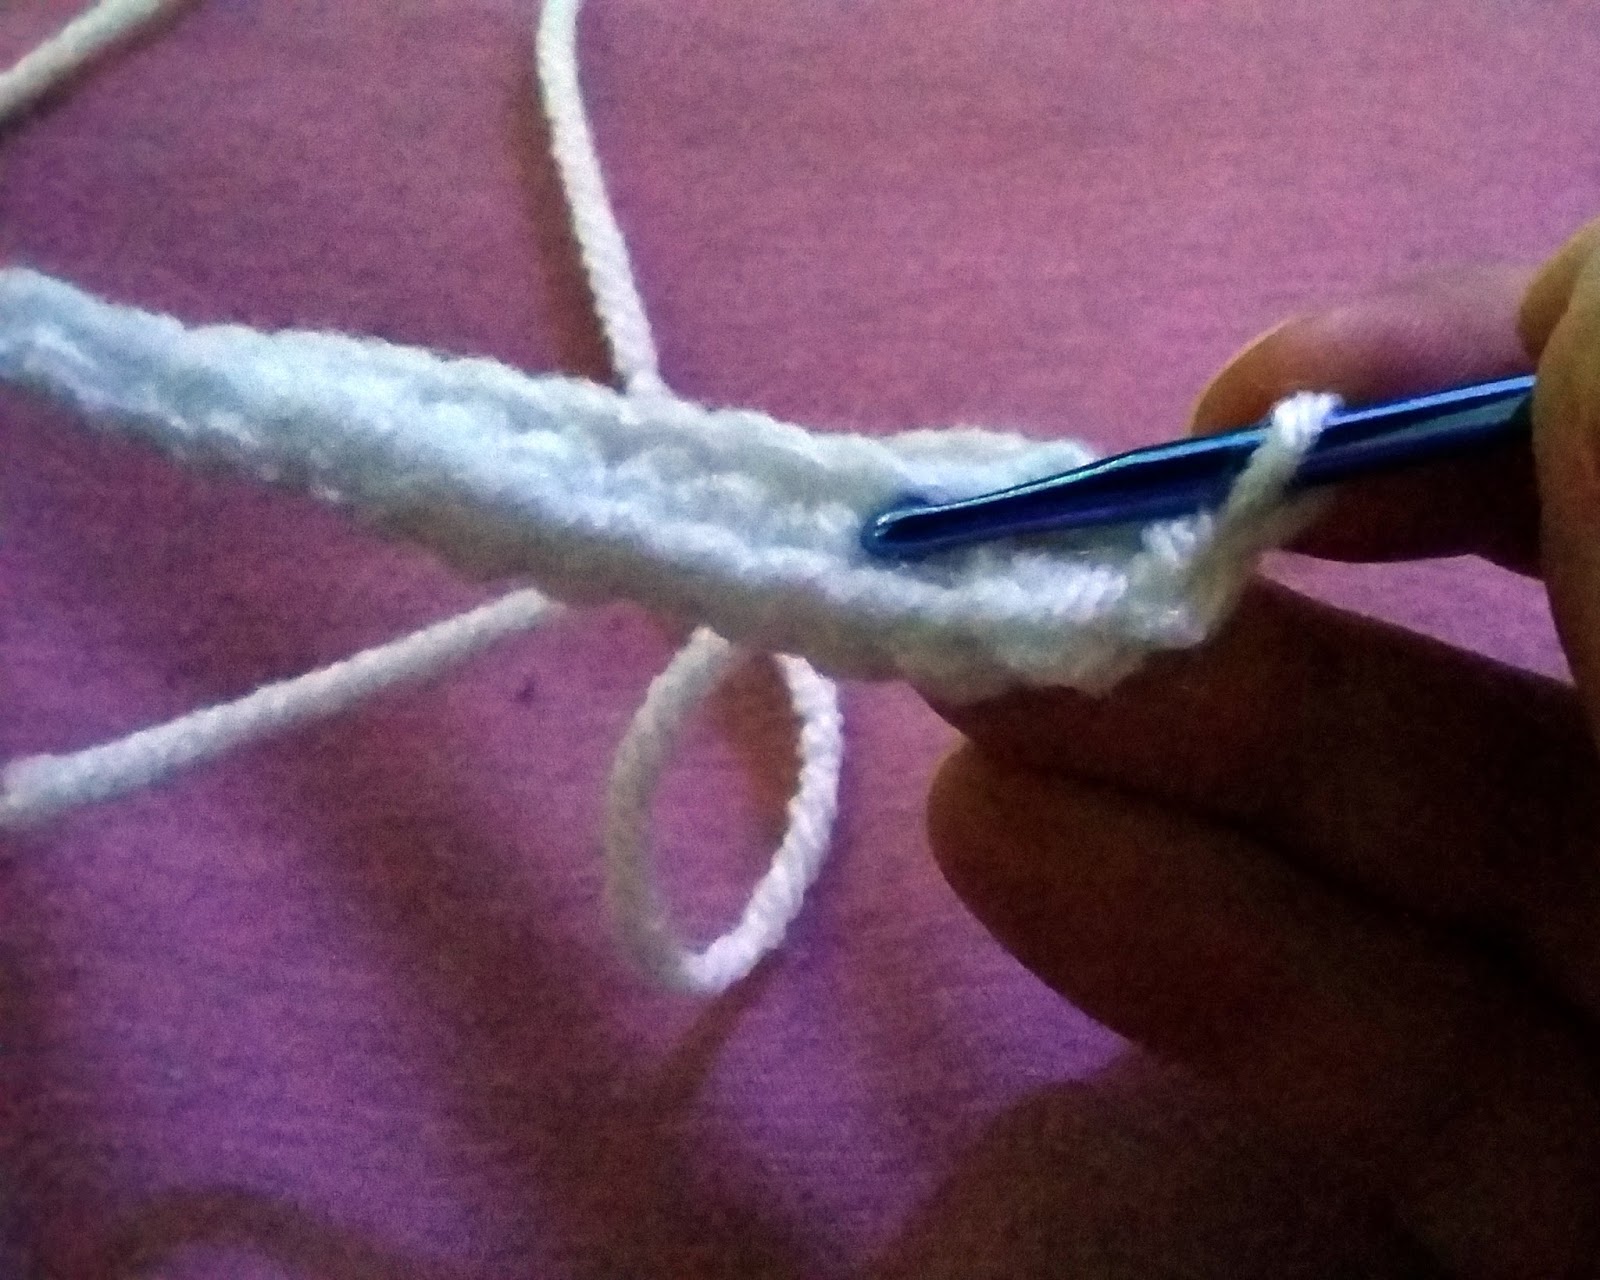
- With an F (or G-I worked mine with an F and my wrists are screaming at me!) hook and WW yarn, ch 52. Sc in 2nd chain from hook and next 49. 3 sc in last ch. Keep working around opposite side of starting chain (see photos). Sc in next 50. 3 sc in end st. Do not join, do not turn.
- sc in next 51. By this time, you may be noticing that your work is starting to curl or corkscrew. That's fine. Keep going, it will work itself out. 3 sc in next, sc in 51.
- 2 sc, sc, 2 sc, sc in 51, 2 sc sc, 2 sc, sc in 51.
- You can keep increasing the base of the bag if you like, but I'm going to stop my increases here and just work on the sides. To work on the sides without color changes, just keep sc through both loops around without any increases on the ends. Go as high as you want! Make that bag as tall or short as you like it. When you have it as high as you want, skip to the section marked "strap." If you're working the CHD graph, this is where things change a bit:
- To work the graph, first work 2 rows even. That will take care of the 2 white rows of graph squares at the bottom of the graph (we do have to work the graph from the bottom up!).
- Now that we're at a color changing row, we'll have to start working back and forth and joining. This is because the color changes are only on one side of the bag. I'm doing this for a couple reasons.
A. I'm thinking about "surface crocheting" a different design on the other side. We'll see.
The inside-see what I mean? Yuck!
B. More importantly, carrying the yarn all the way around the end to the other side will affect the bag by changing the tension. I plan on lining this bag so I'm not going to crochet over the red strand (tapestry crochet) because it will be visible under the white but since I'm lining it anyway, I'll just leave it hang on the inside and pick it up where it's needed. The strands will be covered by the lining. If you aren't lining your bag and want to add the design on both sides, I recommend starting a different skein for the opposite side of the bag so you won't have to crochet over the red strand and have it show through all around the edge.
So, to join and start a new row, when you're done with the 2nd row of working even, sc 3 more to put you at the end of the bag, then sl st in the next. - ch 1, turn. Start working design on graph from the bottom of the lettering of the word "Warrior." Sc around opposite side of bag till you come to the join. sc in the ch 1 sp, then join with a sl st to the first sc of the round.
- Ch 1, turn. Work around bag, following the graph when you get back around to the lettering. Continue until graph is finished.


 |
| sl st to opp end of bag on opp side |
- Ch 1, turn. sc in next 6.
- repeat step 1 until strap is desired length (mine was 130 rows)
- sl st to opposite end of bag, on opposite side. Fasten off, weave in ends.

The finished front

No comments:
Post a Comment