This is my 42 year old Mickey Mouse. I got him from my grandpa when I was about 2 years old. I remember walking with him through the department store and finding it on the floor. I picked it up, like toddlers do, and held onto it. When Grandpa realized I had it he tried to take it from me to put it back but I screamed (I don't remember this part! I remember being a VERY good little girl😁) and he couldn't bear to make his precious little princess scream so he decided to go ahead and get it for me. Unfortunately, it didn't have a price tag so he stopped one of the workers to ask and she tried to find another one like it that had a tag, but there was a problem. There were no others like it in the store! The whole store! She asked other workers who had no idea. I don't know what price they settled on but my adoring grandpa bought me this Mickey Mouse and I've loved him best of all ever since. You can tell, can't you? He's been gnawed on, bitten, cried on, slept on/with and loved to pieces. Literally! One time my dad and I were playing around and he acted like he was going to steal Mickey from me and when I yanked him back, the poor dear's arm fell off (Mickey's arm, not Dad's)! I was horrified and so was Dad! He immediately sewed Mickey's arm back on for me and told me it was his bionic arm since it was now stronger than the other one (at the seam).
 |
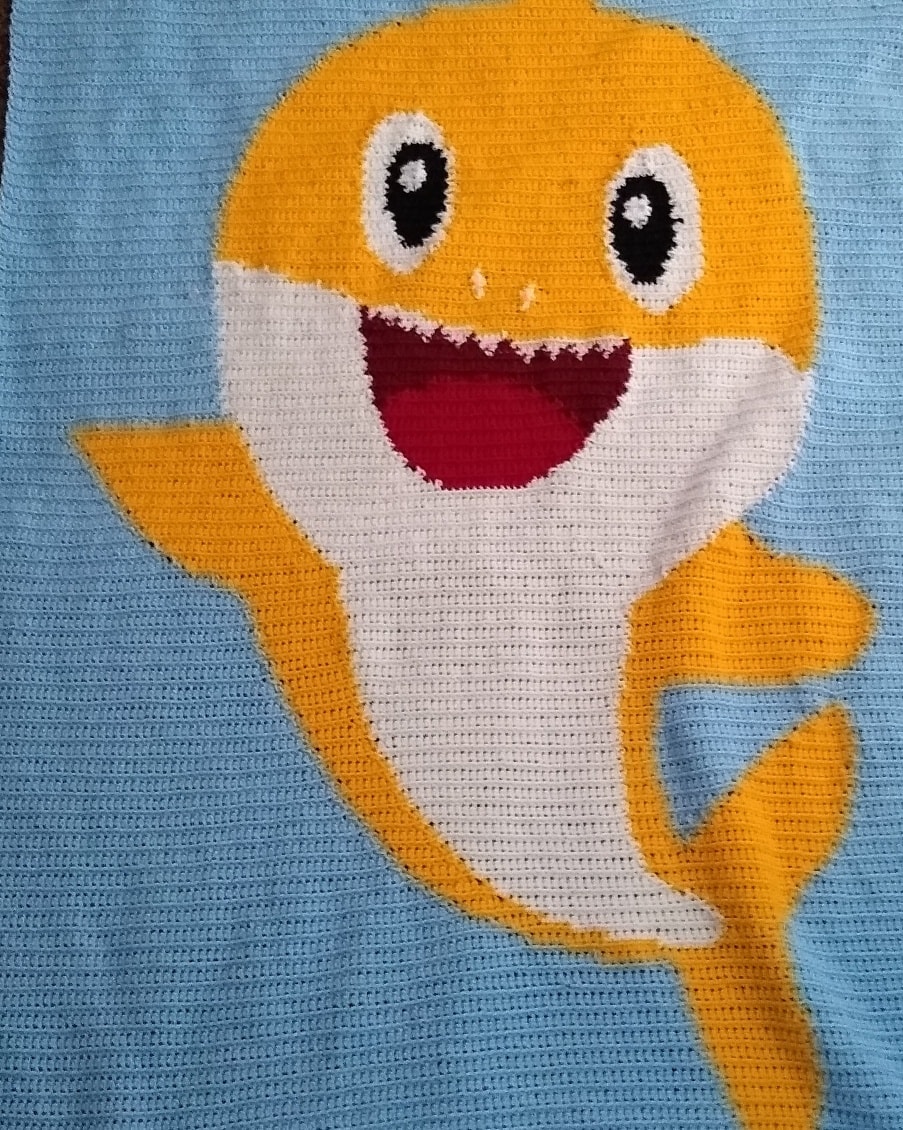
| This is what Mickey is supposed to look like! |
I recently decided I'd clean him up a bit. He has several worn spots, surface "stuff" on his face that I can't seem to wash off, general grunginess, scratched off eyes, missing nose, pilled fabric, his button is long gone and forgotten, and there are stains on his shirt I just can't get out! I've put him in the washing machine before but it didn't seem to clean him up any and now that he's considered an antique or vintage or whatever term they want to put on the old gentlemouse, I was afraid it would be too rough on him.
I began by hand washing him with mild soap in the sink to get rid of the surface "stuff" stuck to him. The stains on his shirt didn't come out right away, so I used some baking soda and vinegar and a soft brush to rub it in. It helped brighten up his hands, too! Ugh, I didn't take a picture of the nasty water, but it was pretty brown. I found a reason for that though...
Once he was cleaned up in the sink I decided it would take forever for him to dry since he fell in and got soaked clear through. Since I needed to restuff him anyway (all the stuffing had migrated from his torso to his head and legs) I'd take the old stuffing out and replace it with new, dry, clean polyfill. That's when I realized he was stuffed with...I'm not sure, nutshells? Maybe (did they put nutshells in toys in the 70s? I couldn't find any info to confirm that)? Which of course turned the water brown, like an unpleasant looking cup of tea. So, I restuffed him, brushed him out with a wire brush to help remove the stuck on filth that didn't come off no matter how hard I rubbed (and to fluff him back up...see the difference in my uber-loved Mickey and the new one? Yikes!) and replaced the button on his shirt front. The button came from Grandma's button box that she gave me a few years before I lost her. I used to make button strings in this box when I was very young and stayed at her house.
 |
Grandma's button box...
with a few of my own added |
 |
| bonus find in the button box |
 |
| (grandma's button box in the corner) |
|
|
|
|
|
Oh, I also made a little mini pom pom for his nose and sewed that on too. He hasn't looked like this in decades! Oh, do you see that worn spot on his nose? Here's another one on the back of his head:
 |
| worn spot |
I filled in the worn spots on his with some close-enough colored yarn I happen to have and brushed and trimmed that up. My darling husband painted on new eyes (he still needs a touch up there but I was too excited to wait to post it!), and here he is!!
 |
| In all his newly restored glory! (Do you see his bionic arm?) |
What do you think of him now? I think he looks just about perfect. No surface dirt, a filled in masculine 😜 torso, button on shirt, no stains, no grunginess, no pilled fabric, eyes painted on, and a new nose! He should last another 100 years.
*That turned up collar on the right? It's always been like that. I could have fixed it, but I think it adds to his charm.